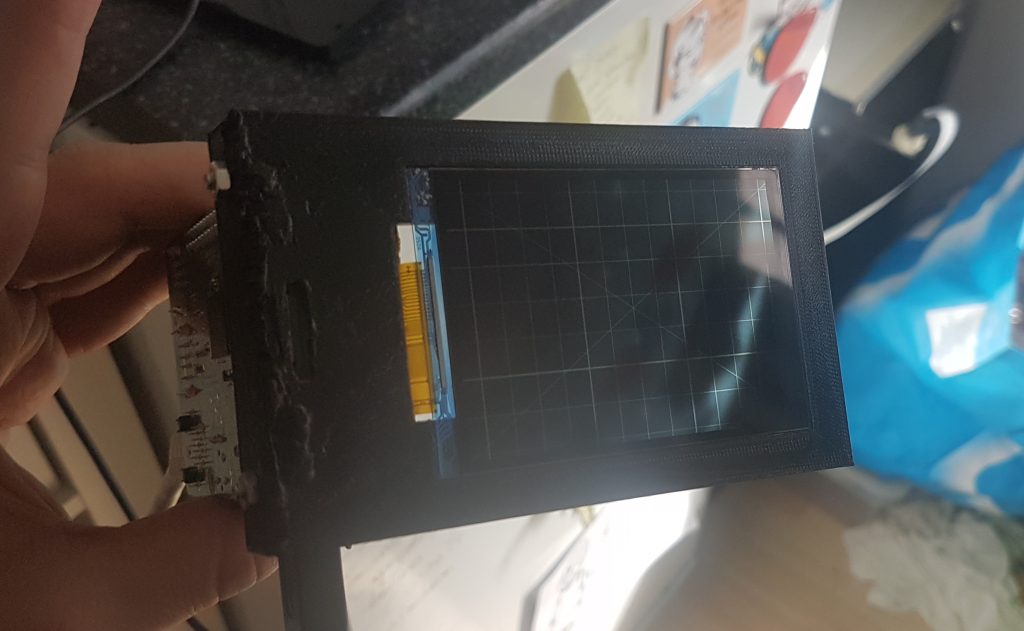
About 6 months ago I decided to build my own SLA printer. Already being a proud owner of a regular FDM printer (a prusa clone for those who wonder), I wanted a printer that would be able to print very fine detail dungeons and dragons miniatures. After a few weeks of researching the subject of Stereo lithography by the use of LCD screens and UV LEDs, I decided to take the leap and ordered a small LCD screen from a chinese wholesale website. Together with some high power LEDs ordered from the same website and a raspberry Pi i had laying around. I made the first little test setup.

The idea was, that I were able to solidify UV resin with the test setup I could dive into the deep end and order all the parts I needed to finish the printer.
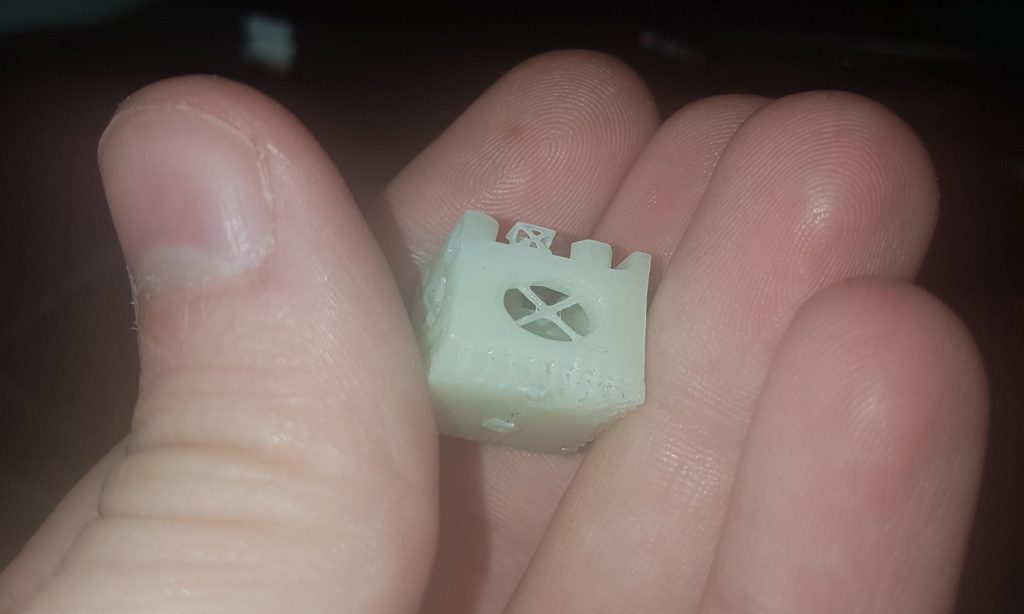
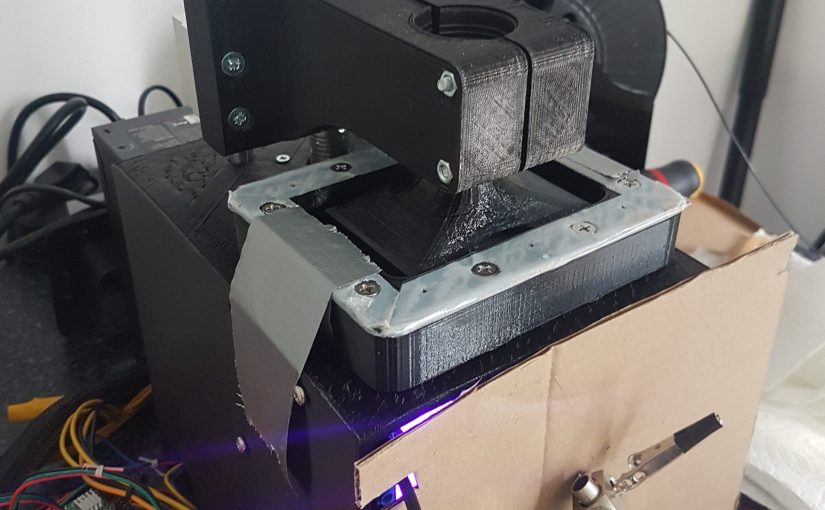
Luckily for me it worked out very well and after a month of modelling the exterior, installing and configuring all software, and connecting all the wires I was finally left with a prototype printer I could print my first print with. Of course the first print didn’t go very well, the resin didn’t seem to stick to my build platform. I fiddled with the exposure time for the first layers, roughened the build platform, eventually I discovered the settings to make the object stick to the build platform. Then 1,5 hours later my first printed object came out of the printer, a benchmark cube of 1 x 1 cm.

I was pretty astonished at the resolution it managed to print given the LCD screen was only 480 x 320 pixels. If you look well at the printed object you can see it looks a bit squashed which was happening because of a bad calibration of the pixel size in the printer’s software.
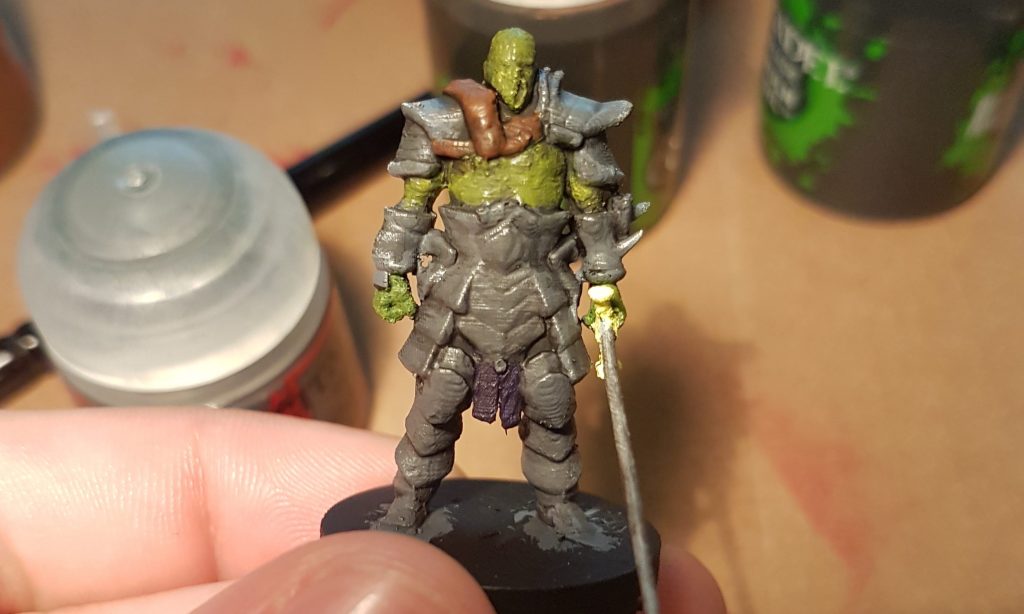
I printed the test cube a few times to get the curing time just long enough to cure fine details and short enough not to let scattering light cure resin that shouldn’t be. It was finally time to print the object I made the printer for in the first place, a dungeons and dragons miniature!

Specifications of the printer:
- 40 Watts UV LED array of four 10W 405nm UV LEDs with 15 degree lenses
- A 480 x 320 pixels LCD screen to block out the UV light
- Raspberry Pi 3 for controlling the printer
- NanoDLP software
- RAMPS 1.4 board for controlling the LED array & stepper motor.
Original reddit post I made after finishing the printer: https://www.reddit.com/r/3Dprinting/comments/8kg1rr/homemade_sla_printers_first_print/
Thanks for reading!
